Logic Art
"He has filled them with skill to do every sort of work done by an engraver or by a designer or by an embroiderer in blue and purple and scarlet yarns and fine twined linen, or by a weaver—by any sort of workman or skilled designer."
- Exodus 35:35
1
- Exodus 35:35
1
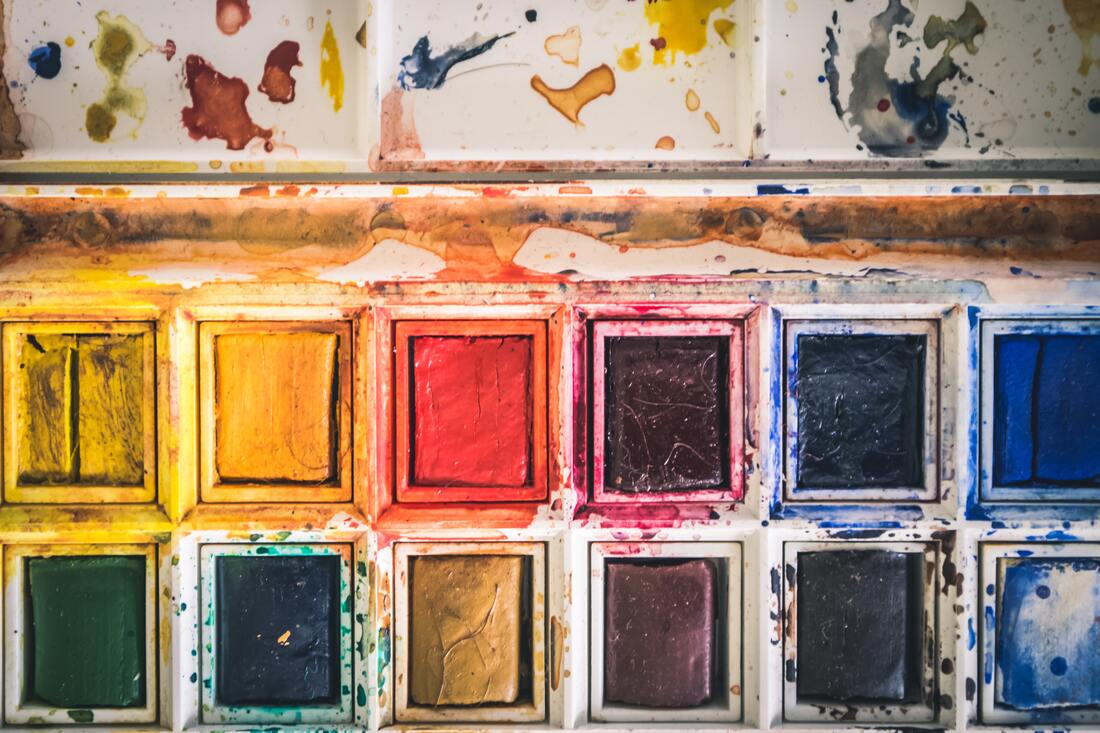
2D ArtFirst semester will focus on project types such as drawing, bookmaking, printmaking, color theory, & painting.
|
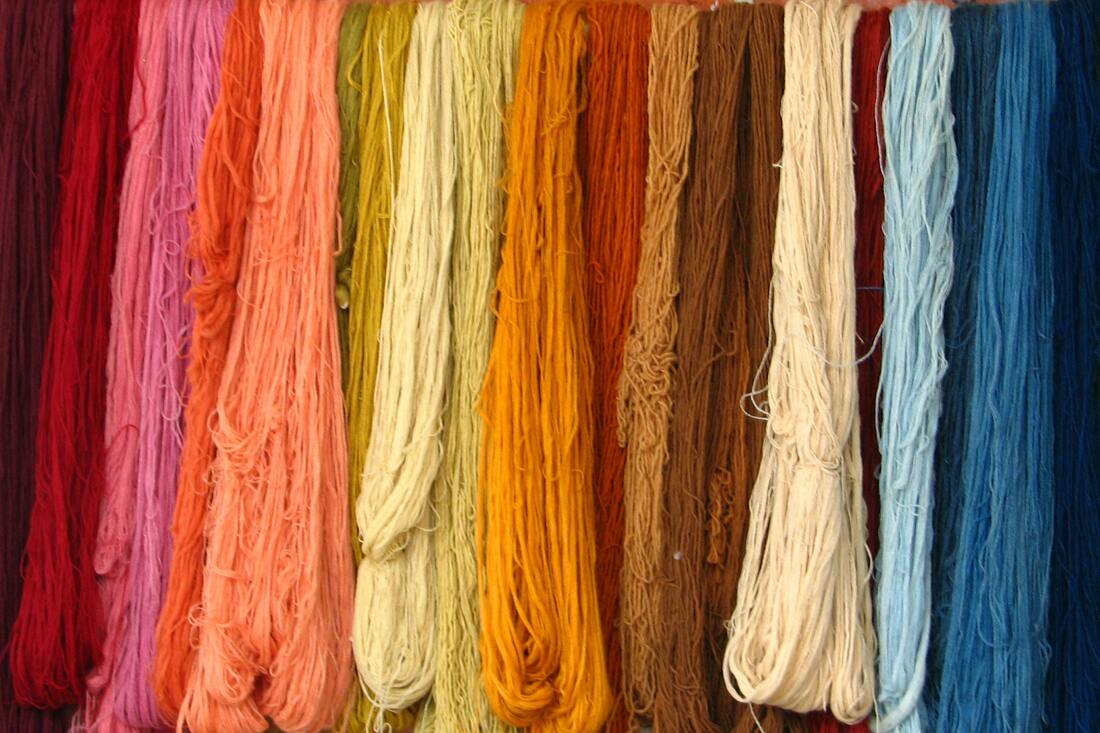
3D ArtSecond semester we will venture into art making like paper mache, sculpture, textiles, & ceramics.
|
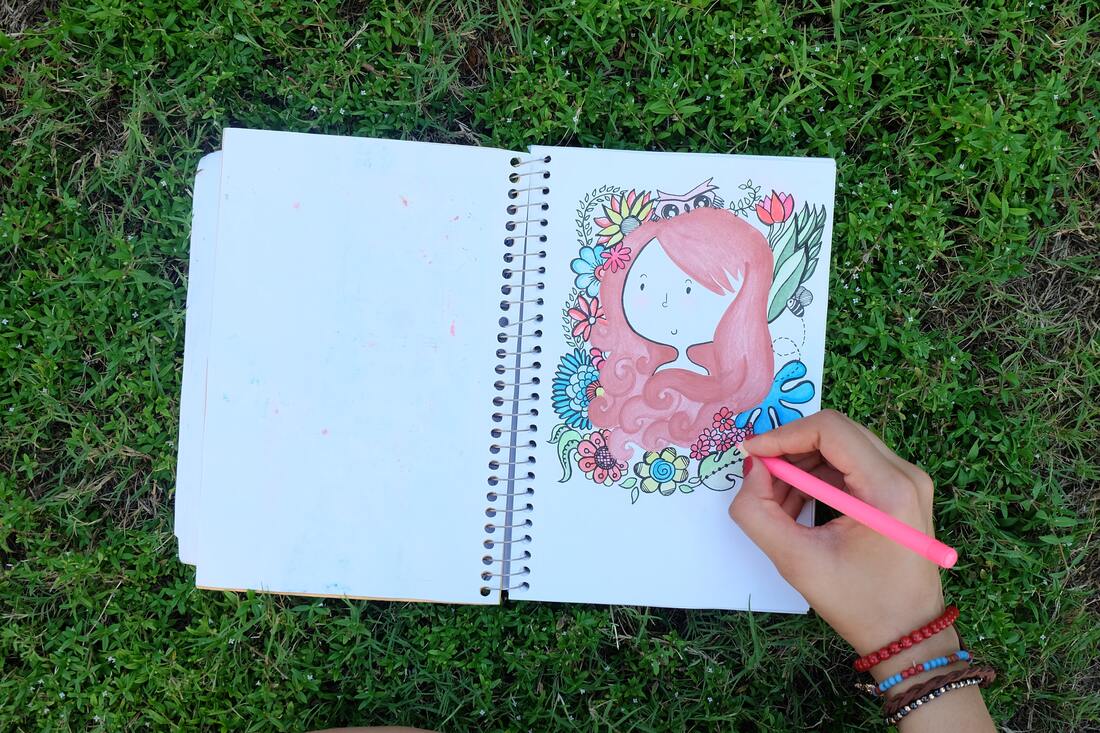
Sketchbooks
Sketchbooks will be ongoing all year. Each class you will have time to add to them at the start of class and any time you finish a project early and have left over classtime.
|
Assignments
Sketchbooks
PHOTO BY THE LAZY ARTIST GALLERY FROM PEXELS
:: GUIDELINES ::
- Design must include your name (should be large and legible...teacher needs to be able to read it)
- Must have a theme (examples: a style of art, a time period, a favorite song, a favorite book or quote)
- Must have a purposeful design
- Your design should relate to your personality
- The composition should include at least four of the Elements of Art clearly (Line, Color, Value, Texture, Shape, Space, Volume)
- Your composition should ALL of the Principles of Art (Pattern, Contrast, Emphasis, Balance, Scale, Harmony, Rhythm/Movement, Unity, Variety)
The Elements of Art |
Principles of design |
|
|
|
Drawing Project 1 :: Black and white Geometric Design
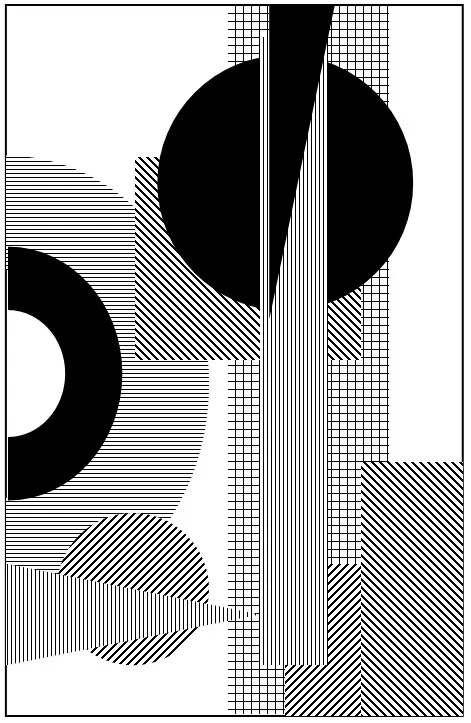
Identify the Elements of Art and Principles of Design in this image.
Sketchbook prompt ::
Using only simple geometric shapes (circles, squares, rectangles & triangles) create an interesting composition with a focal point. Without outlining any shapes use parallel lines to give different values for each shape. Use only horizontal, vertical, or diagonal lines. You can also use solid black or white to fill a shape. Use a ruler and circle templates.
DAY 1-3 :: create your own black and white image
DAY 4-5 :: use the colored sharpies to create a color image (if possible consider creating the illusion of FORM)
https://createartwithme.com/sketchbook-ideas/
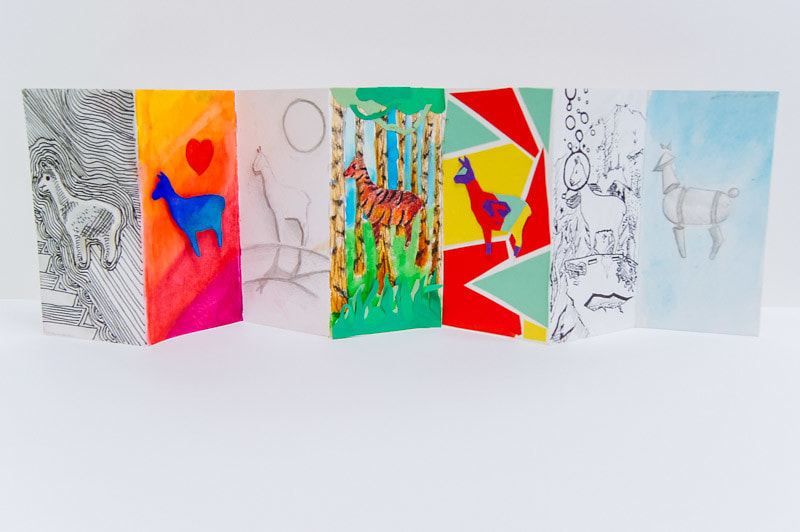
Project 2 :: Elements of Design Booklets
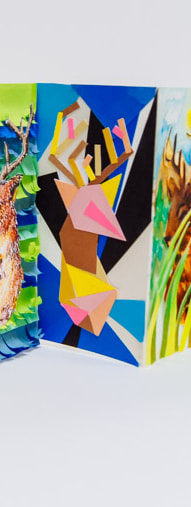
This assignment will help us better conceptualize the elements of Art ::
1. Line
2. Color
3. Value
4. Texture
5. Shape
6. Space
7. Form
We will take one shape and re-imagine it on each page using ONLY that particular element of art.
1. Line
2. Color
3. Value
4. Texture
5. Shape
6. Space
7. Form
We will take one shape and re-imagine it on each page using ONLY that particular element of art.
|
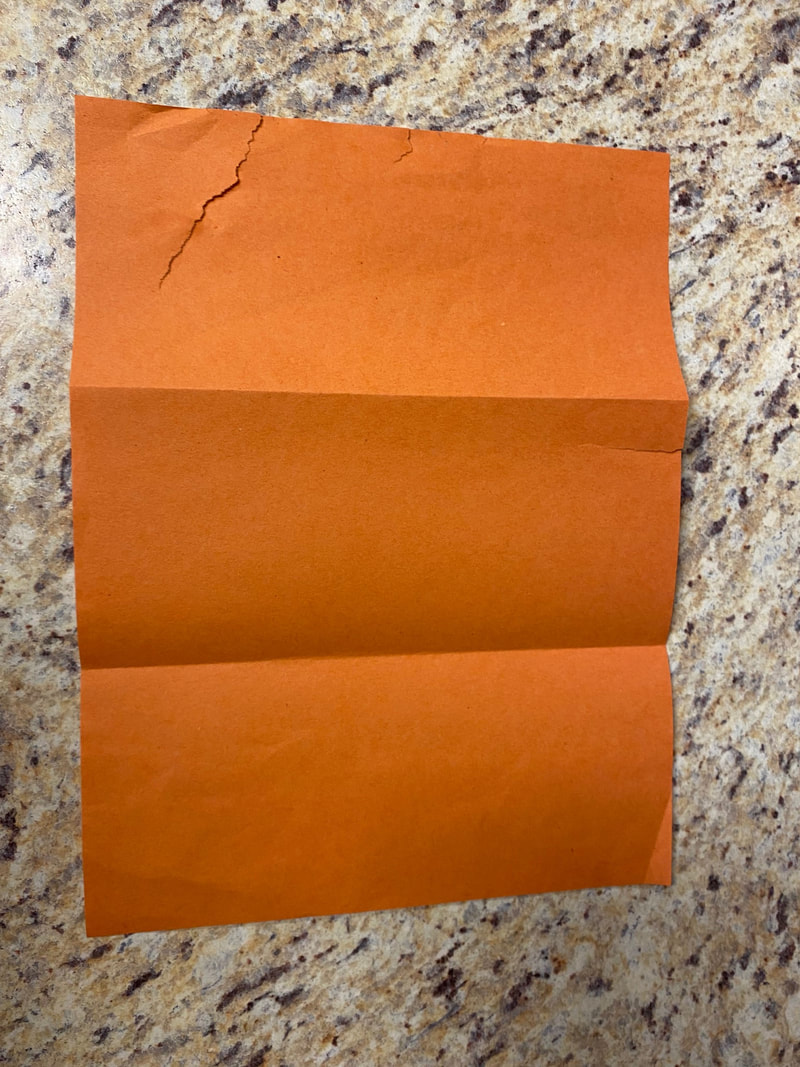
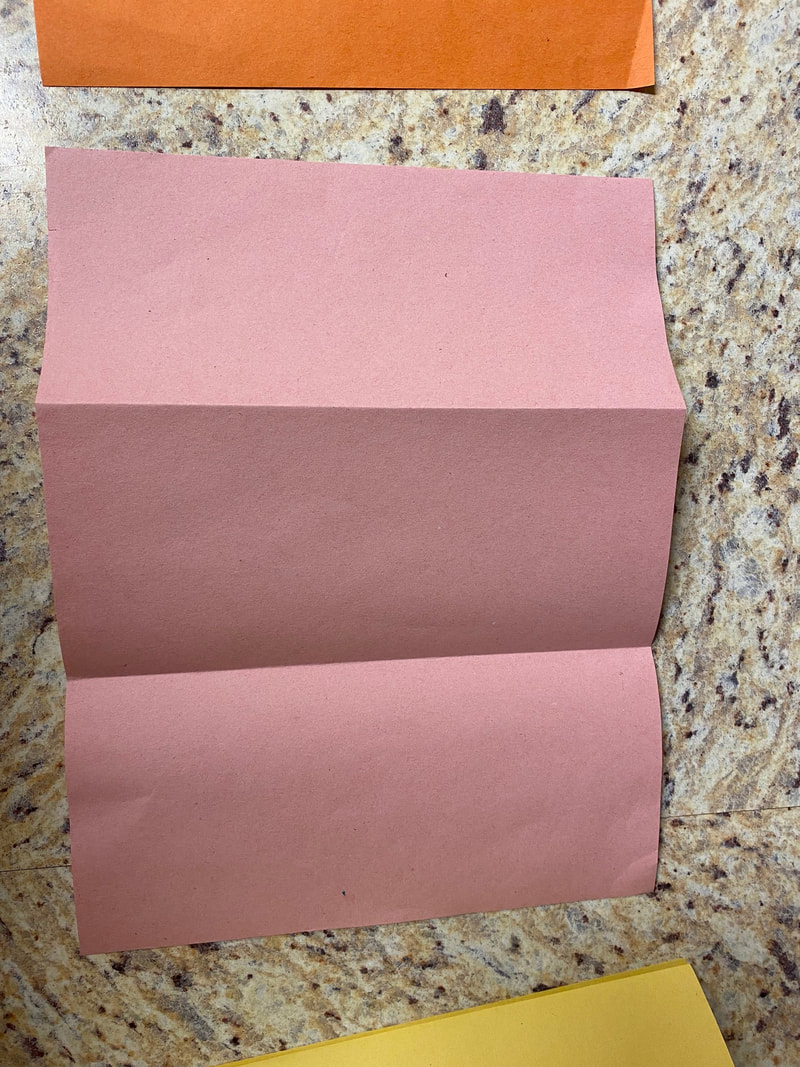
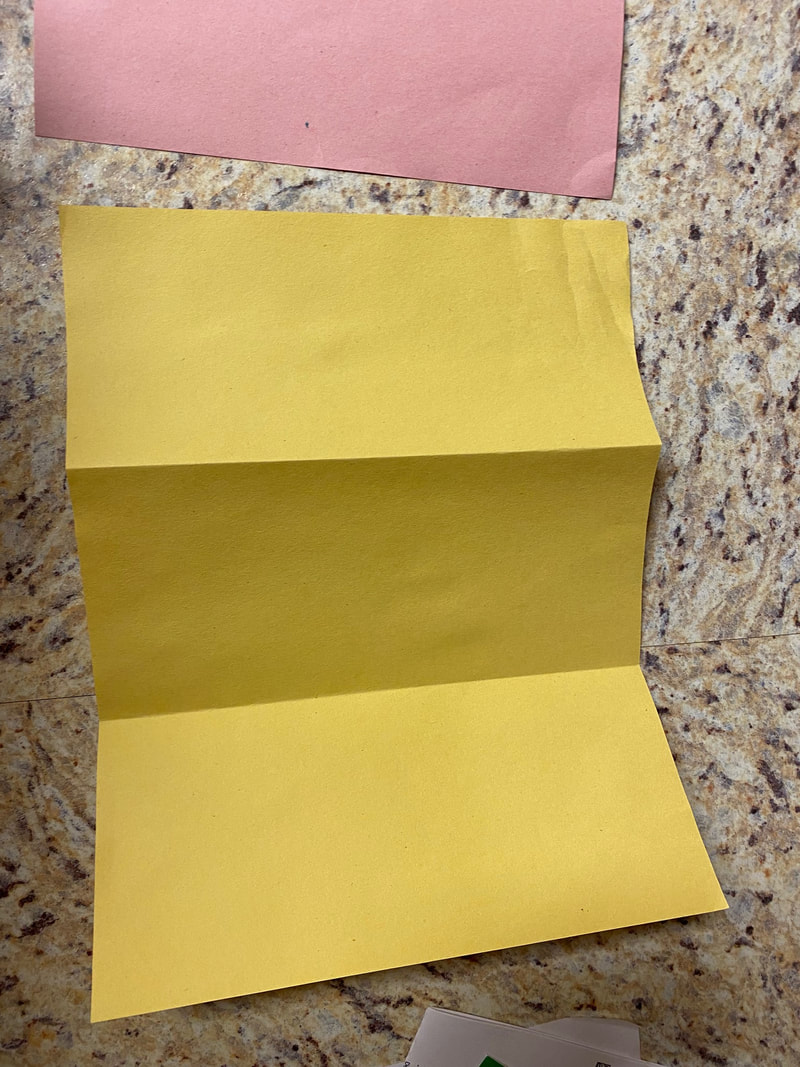
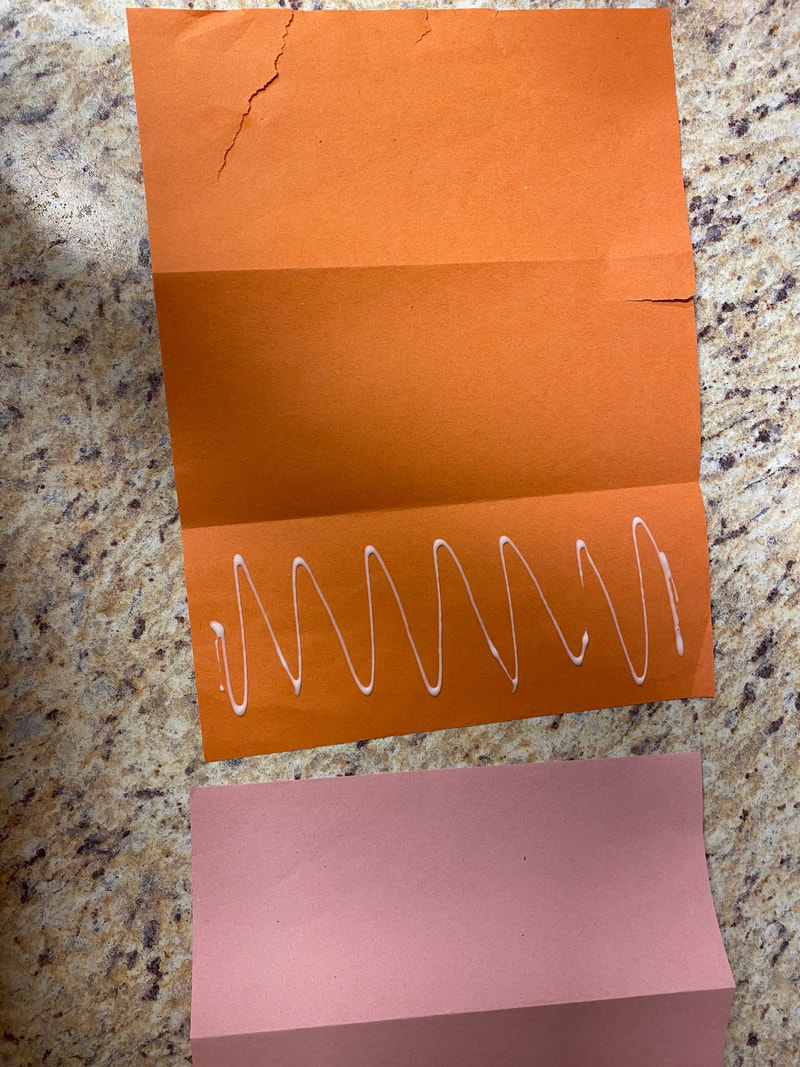
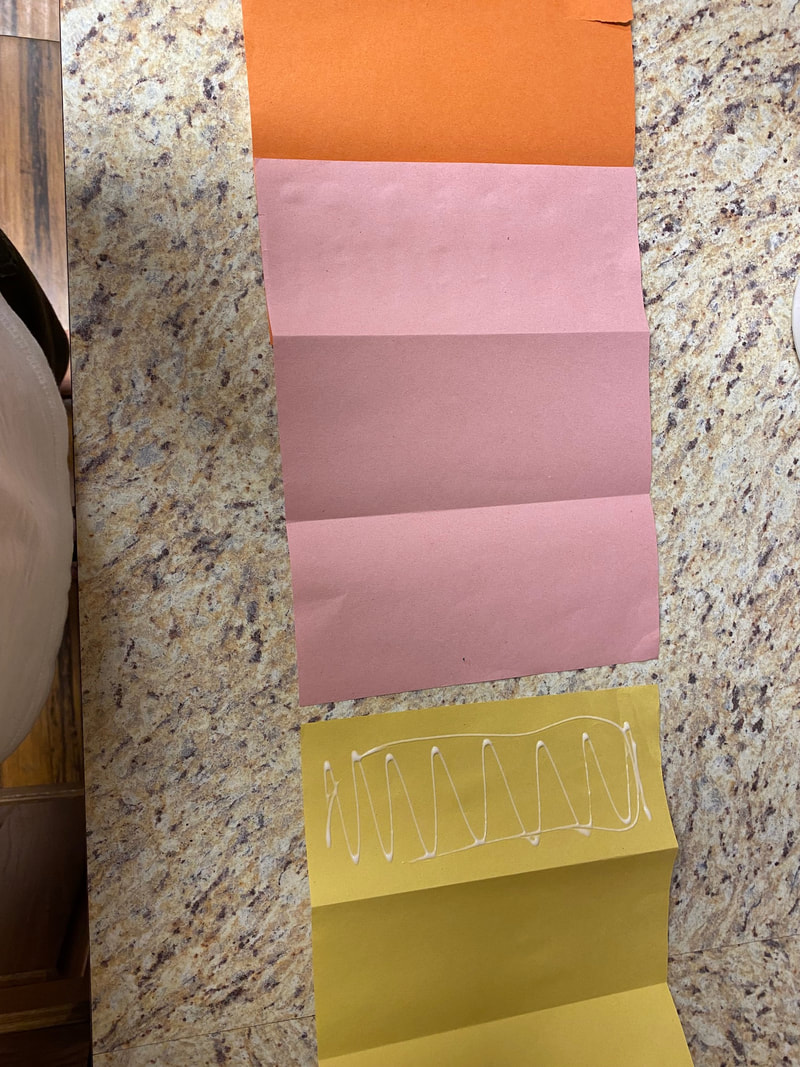
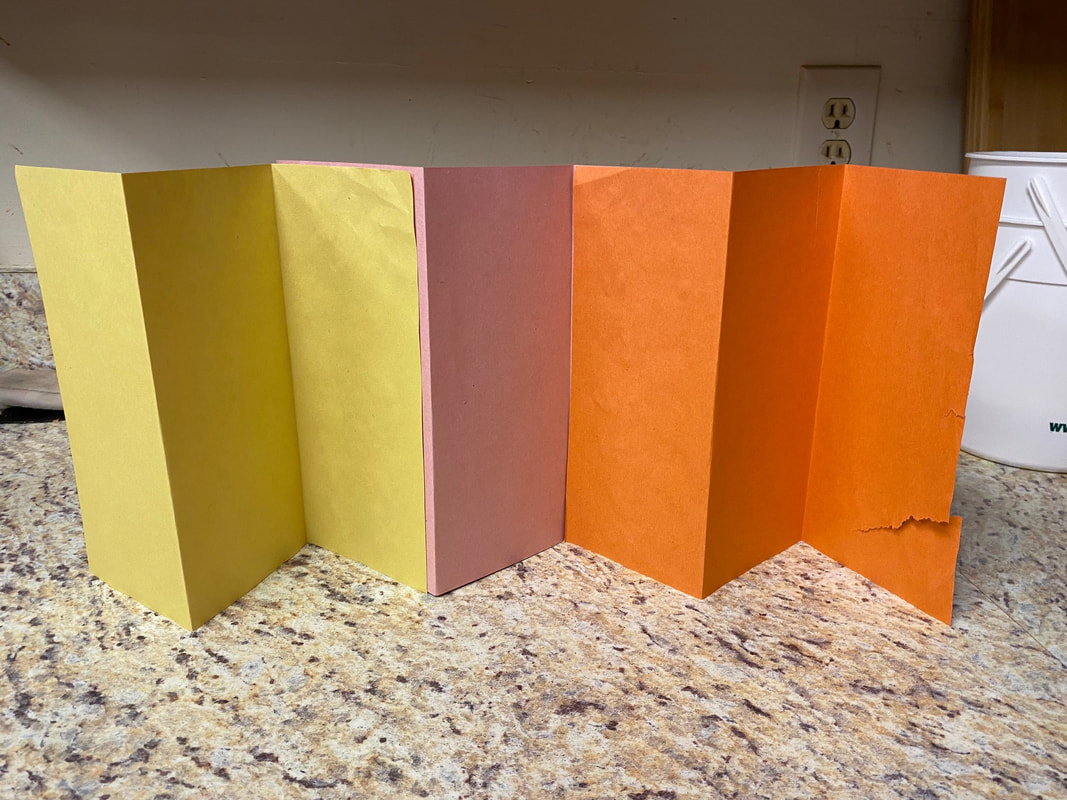
Day 1 ::
Make Booklets.
|
|
|
Step 2 ::
Choose a silhouette shape. Draw the shape on a piece of white paper making sure that the shape will fit inside ONE of your tall rectangles. (no larger than 3 in. x 8 in) Cut out the shape. Trace the shape into each rectangle. |
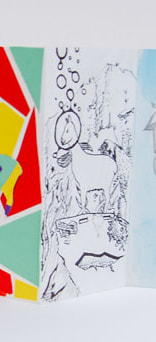
Step 3 ::
Begin the page for LINE. Student should use only lines to create a unique and interesting design based on their chosen shape. See examples below for ideas. This will be very similar to our very first assignment but now with an organic shape (vs. a geometric shape before). |
|
|
|
Step 4 ::
COLOR page. Now take your shape again and create a design in color. Think of your design in positive space and negative space...the shape being your positive space and the background or space around it being negative. One part (either positive or negative) of your design will be ONLY warm colors and the other part (whichever part you did not choose before) of your design will be ONLY cool. You will use colored pencils or oil pastels to color. |
Step 5 ::
VALUE page. This page will be done in ONLY pencil and the goal of this page to think about what your shape would look like in 3D. Where would the darkest values be? Where would the highlights be? Consider what the background is going to be or look like and give thought to the value and its importance here. Keep in mind that darker colors tend to recede and lighter colors tend to appear closer. |
|
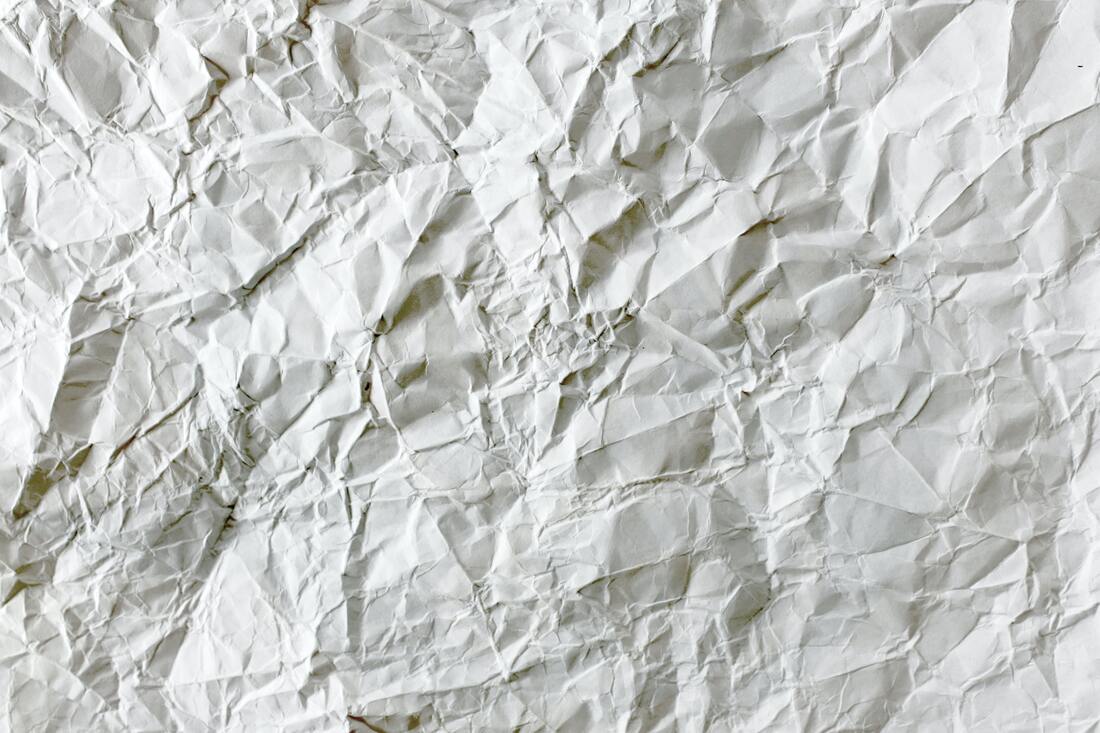
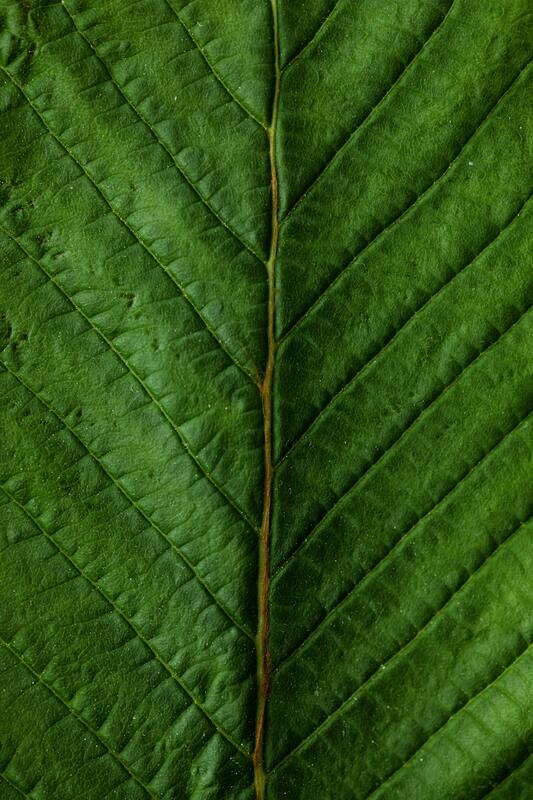
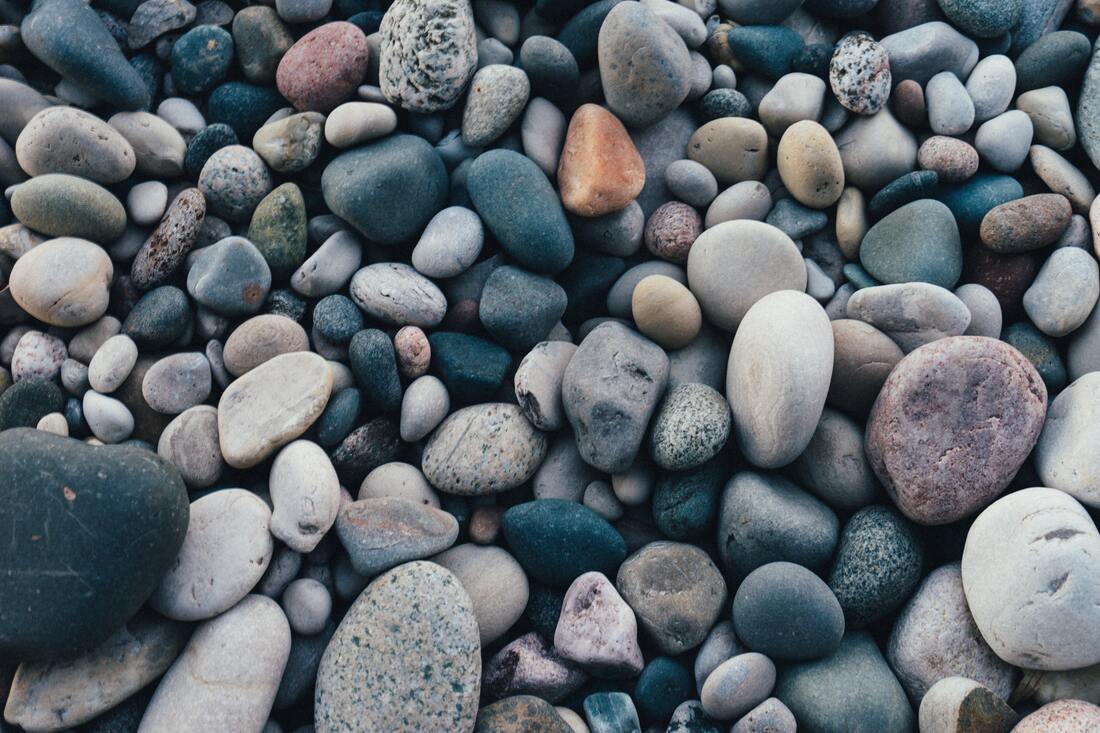
tex·ture
noun
Photo by icon0.com from Pexels
|
Step 6 ::
TEXTURE page. This page will be done only in collage using scrap paper. Students can use any construction paper they find in the classroom or if they cannot find the correct color they can always try painting paper the correct color, letting it dry overnight, and using painted paper like Matisse did in his collage works. The only requirement for this page is that students use the paper to create texture that relates in some way to the silhouette shape. ***look closely at the examples on the link posted to get ideas for how to do this. TEXTURE relates to how something FEELS, so they might choose to tear the paper to create rough edges, or cut the paper to feather it like in some of the examples, or crinkle the paper...students can use several techniques if they choose. |
|
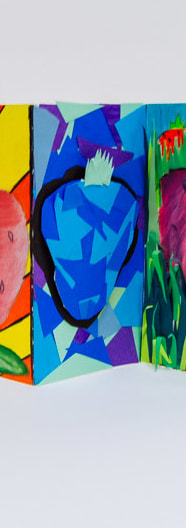
Step 7 ::
SHAPE page. This shape will also be done using paper scraps to create a collage, but this time the focus is on SHAPE. Students should use scissors this time to cut smooth edges on their shapes, so that there is a clear difference between this page and the texture page. Students need to break their silhouette shape down into basic shapes. Example :: if their shape was an animal...the head would be a circle, the body would be a rectangle, the legs would be smaller rectangles, ears could be triangles. For a different approach...in the example to the right >> the student used only cut out triangles to create an image of the strawberry. Choose a method that best suites you and your image and use cut out paper to create the basic shapes of your silhouette shape and glue into the correct place to create an abstracted version of your silhouette shape. Then, create a background using only simple shapes cut out from paper. This is good time to use a pattern or color theme. |

|
|
|
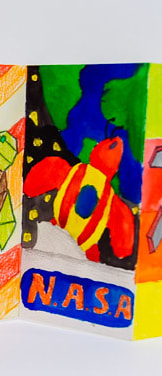
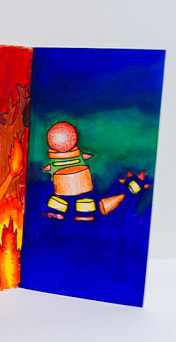
Step 8 ::
SPACE page. This page will have some flexibility in interpretation. If you look at the examples on the website you will see that some students used a very literal interpretation and created some comical outer space imagery including their silhouette shape. Others interpreted it with the art definition in mind...choosing to represent the foreground, middle ground, and background. Either option is fine because both are dealing with the use of space or location of the image. |
- Choose which one of these interpretations fits your shape best and create a design for this section.
- Use any medium you want for this section (even collage if you choose or a mixture)
- Make sure you can still identify your silhouette shape within your design
- Make sure you can identify a foreground, middle ground, and background for this section (this may require drawing or creating an extra image in front of your actual silhouette)
|
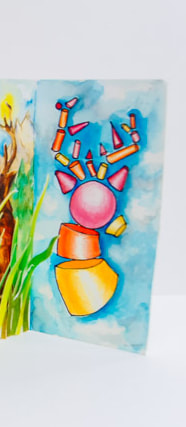
Step 9 ::
VOLUME page. ***This page might be the hardest one for students to conceptualize, but it can be understood very similarly to the shape page but in 3D now. 1. Students will break their silhouette shape into simplified 3D forms. (They must have at least three forms, but more complex shapes should definitely have more) **see examples 2. Then, use dark and light values to add shading to your forms to create the illusion that each form is 3D. Remember that you will need to imagine a light source and create a highlight on each form that is consistent with the (imagined) light source. **See the deer example for best example of this. 3. Students can choose from pencils, pastels, or paint for this section and are not limited in color choice. 4. The background should also create the illusion of depth but students can be creative here. It can be a scene or one color that has been shaded to add depth. |
|
