Rhetoric Art
“Creativity takes courage” – Henri Matisse.
2D ArtFirst semester will focus on project types such as drawing, bookmaking, printmaking, color theory, & painting.
|
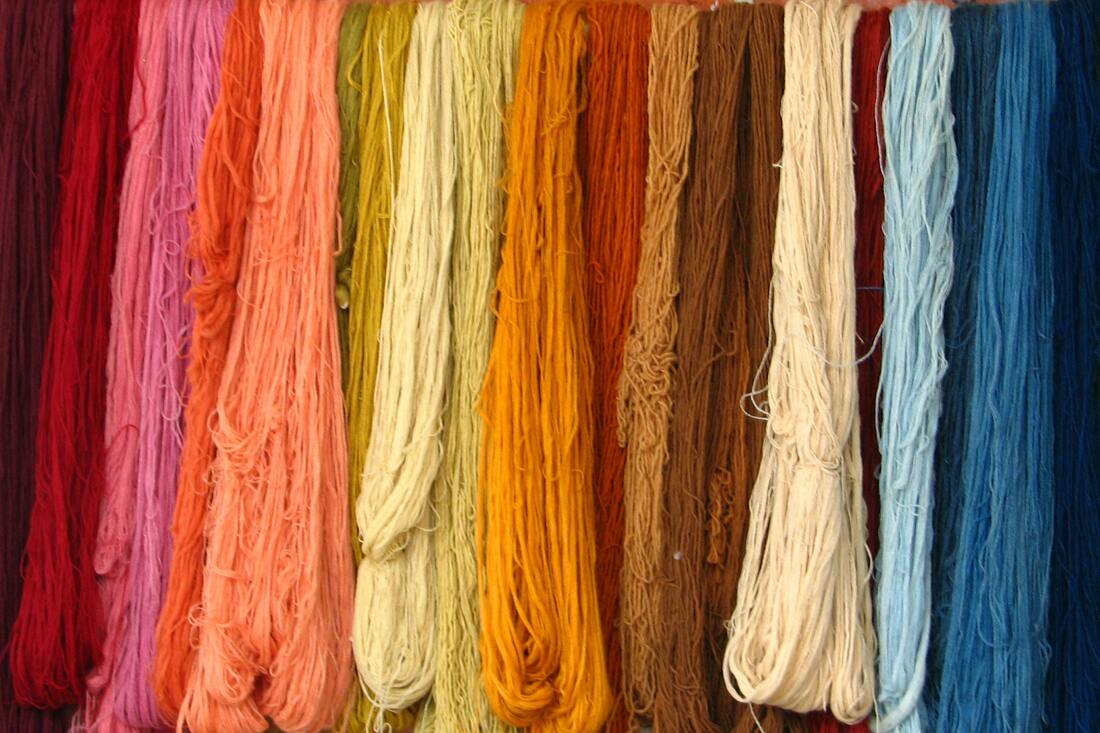
3D artSecond semester we will venture into art making like paper mache, sculpture, textiles, & ceramics.
|
SketchbooksSketchbooks will be ongoing all year. Each class you will have time to add to them at the start of class and any time you finish a project early and have left over classtime.
|
assignments
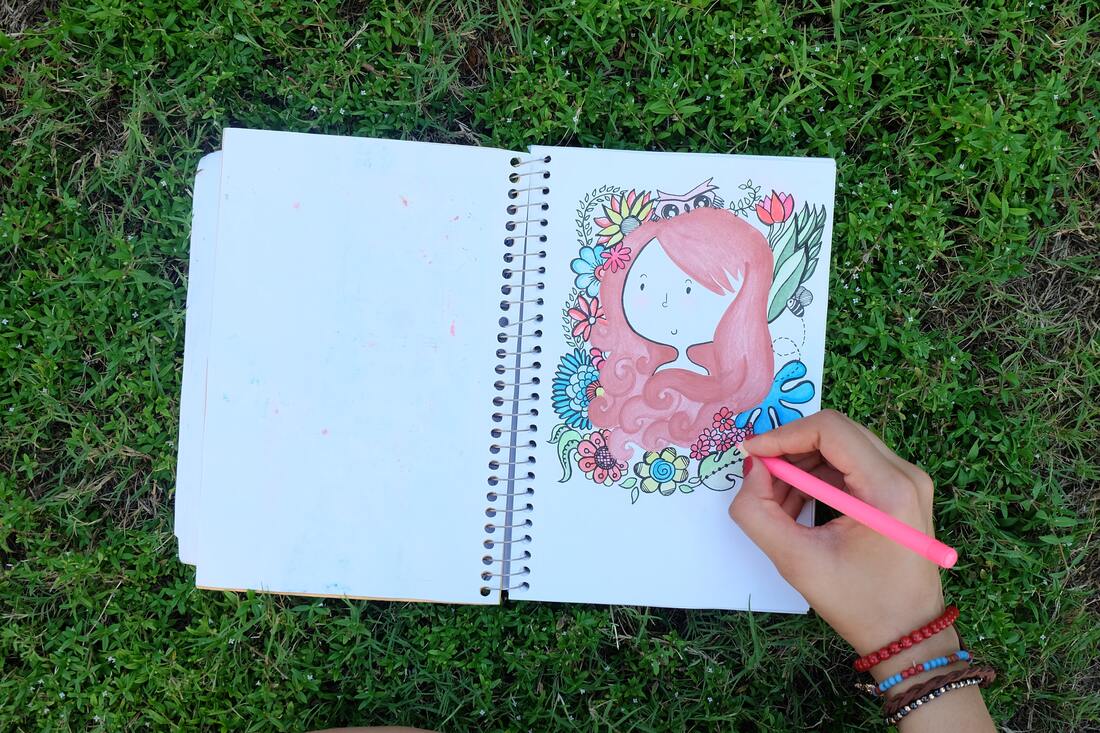
Sketchbooks
Photo by The Lazy Artist Gallery from Pexels |
:: GUIDELINES ::
|
Elements of ARt |
Principles of design |
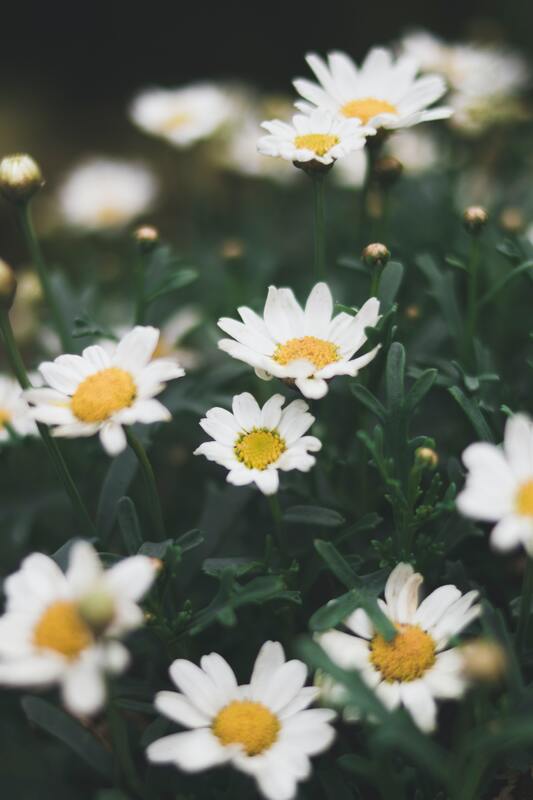
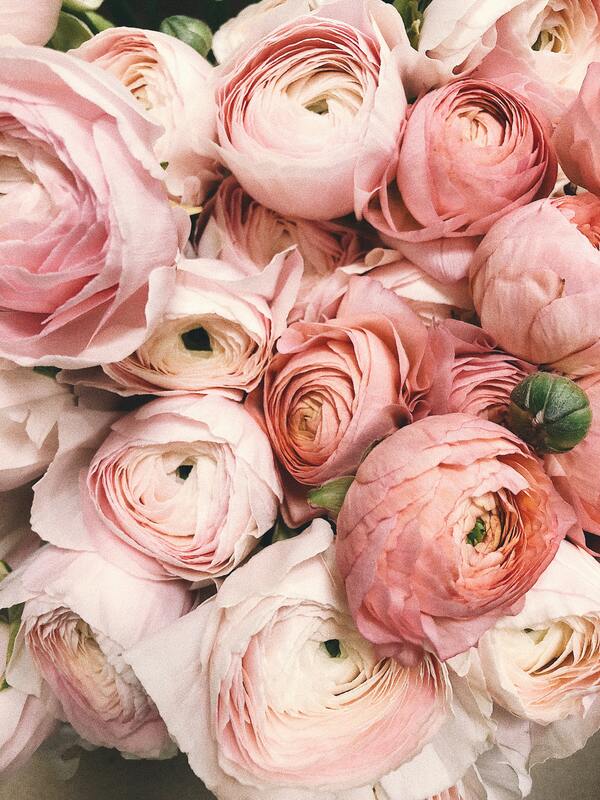
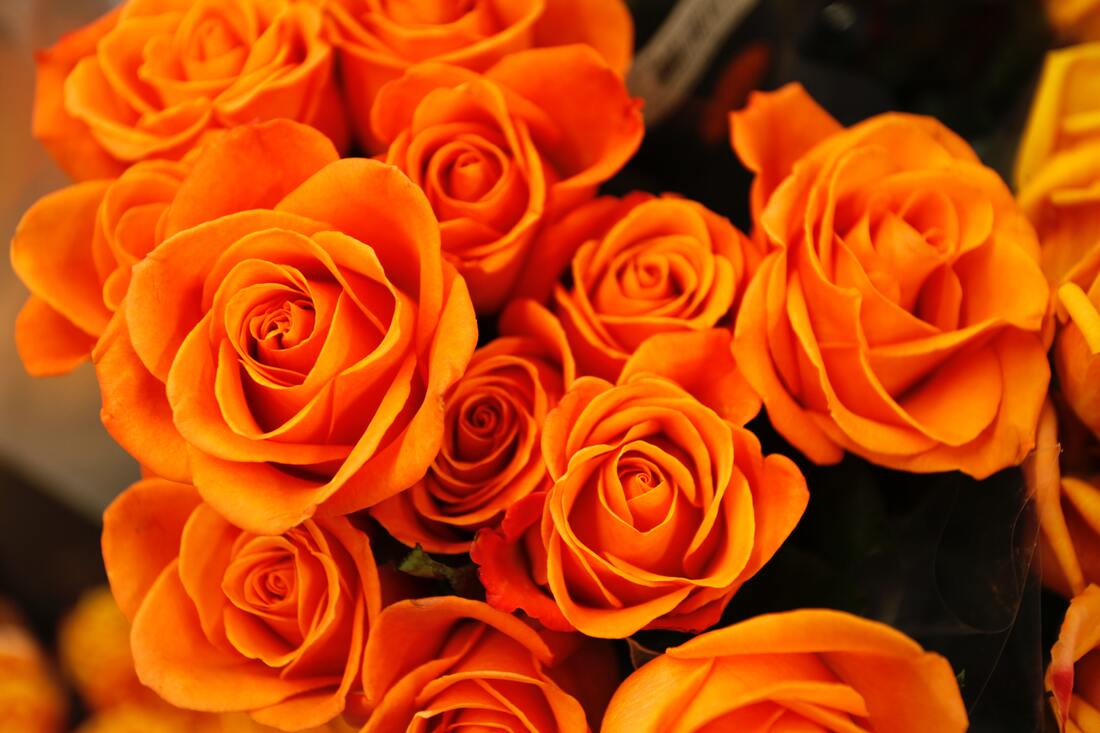
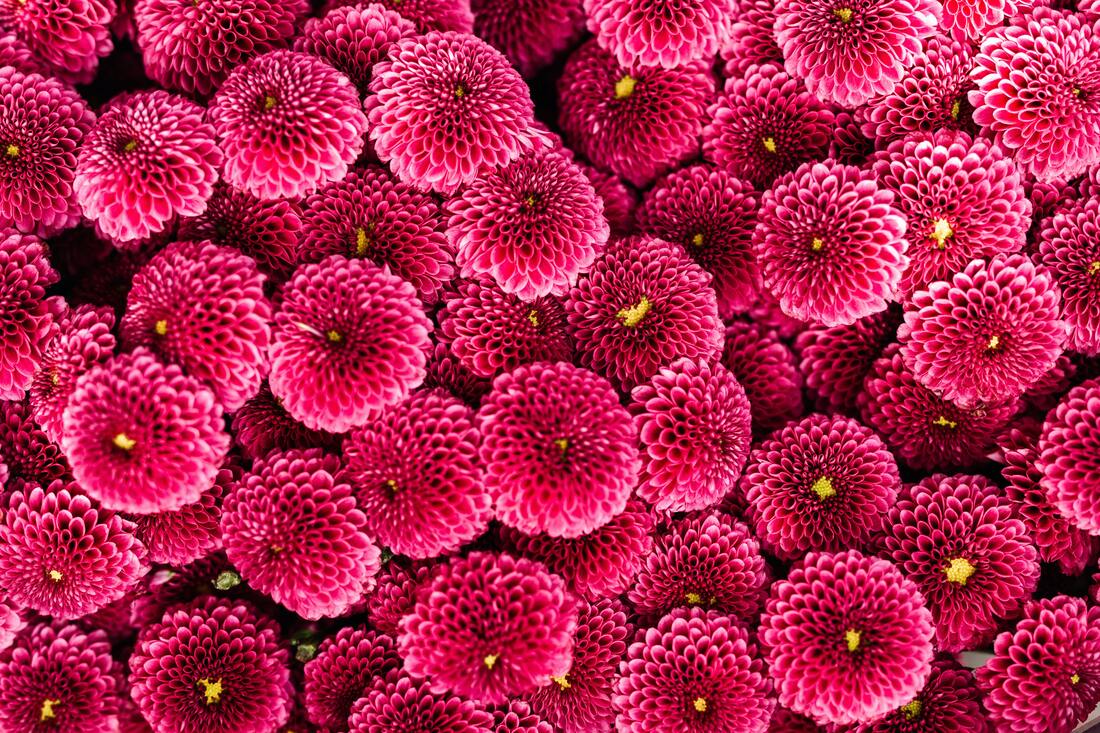
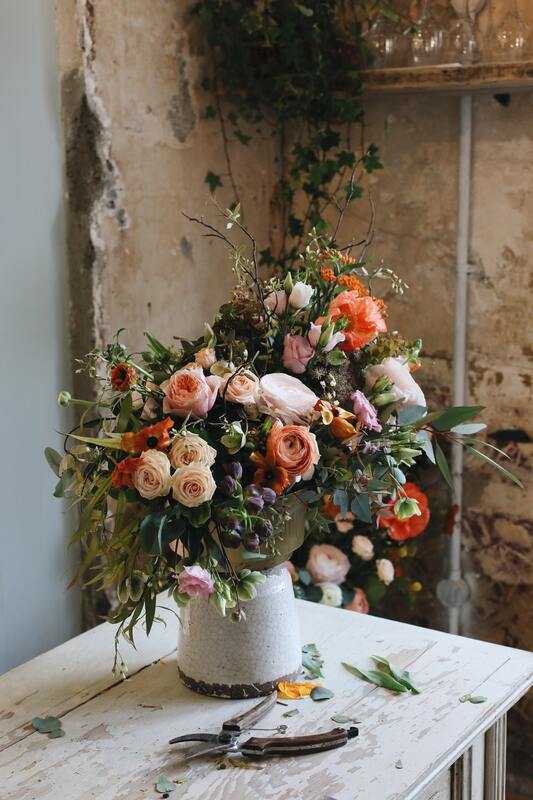
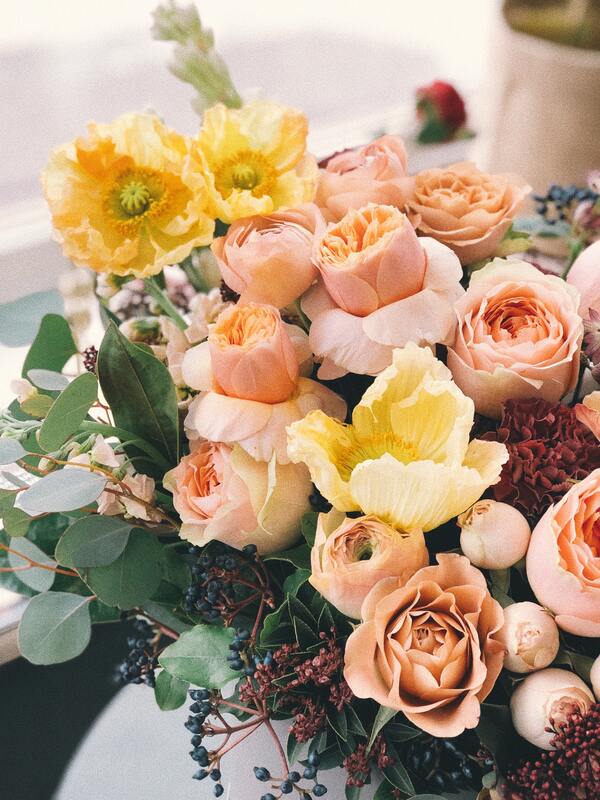
Drawing Project 1 :: Contour LIne Flowers
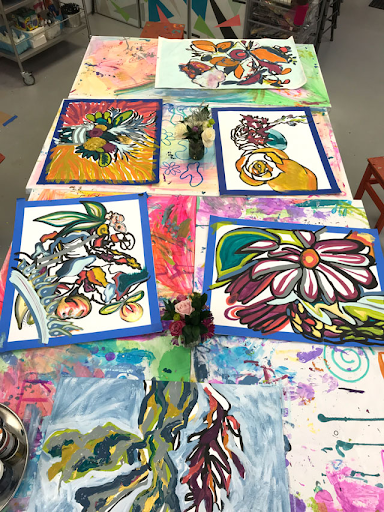
Use photos of flowers from gallery of flowers below to create contour line drawings.
Day 1 :: use pencil; create as many small sketches as possible
Day 2 :: create final draft version on 18x24 (fill up space); outline in black paint and leave to dry over night
Day 3-5 :: use bright colors to add gestural paint strokes to paper leaving no white space (gestural strokes should show movement)
Gallery of flowers
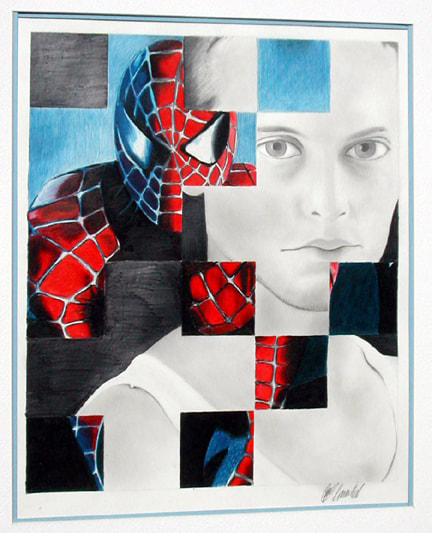
Drawing project 2 :: Woven Grid Drawing
This project is taken From :: https://www.incredibleart.org/lessons/high/kenweave.htm
|
This assignment will include choosing TWO images.
Days 1-2 will largely be choosing images and getting them set up as a grid like described below… After that students can work at their own pace on the drawing of their image. |
|
Procedures:
- Choose two pictures that have a common theme or idea. Find one that is predominantly darker and the other lighter. Cut them to the same size in something that is in even inches.
- Cut the first picture into vertical 1" strips keeping them together at the top.
- Cut the second picture horizontally in 1" strips.
- Tape the vertical one onto some scrap paper on the top and weave the other picture over and under (traditional tabby weave). Square it up tightly and then tape it on the sides. Repeat this until all the picture is done.
- Tape around all four sides with masking tape and begin to reveal some squares to show more of one picture and so forth until you like the composition. You can eliminate rows and squares that are not important.
- On a bigger piece of newsprint make a grid of 2" or 3" (5 or 7.6 cm) squares. This should be the same number of squares as in the design. By using the grid, enlarge outlines that are necessary to draw each square. Only the lines of hard edged areas not where there is a gradation.
- Transfer the design with graphite (pencil) onto white drawing paper and begin to draw each square. Use a kneaded eraser for highlights. Use colored pencils for accents and interest if desired.
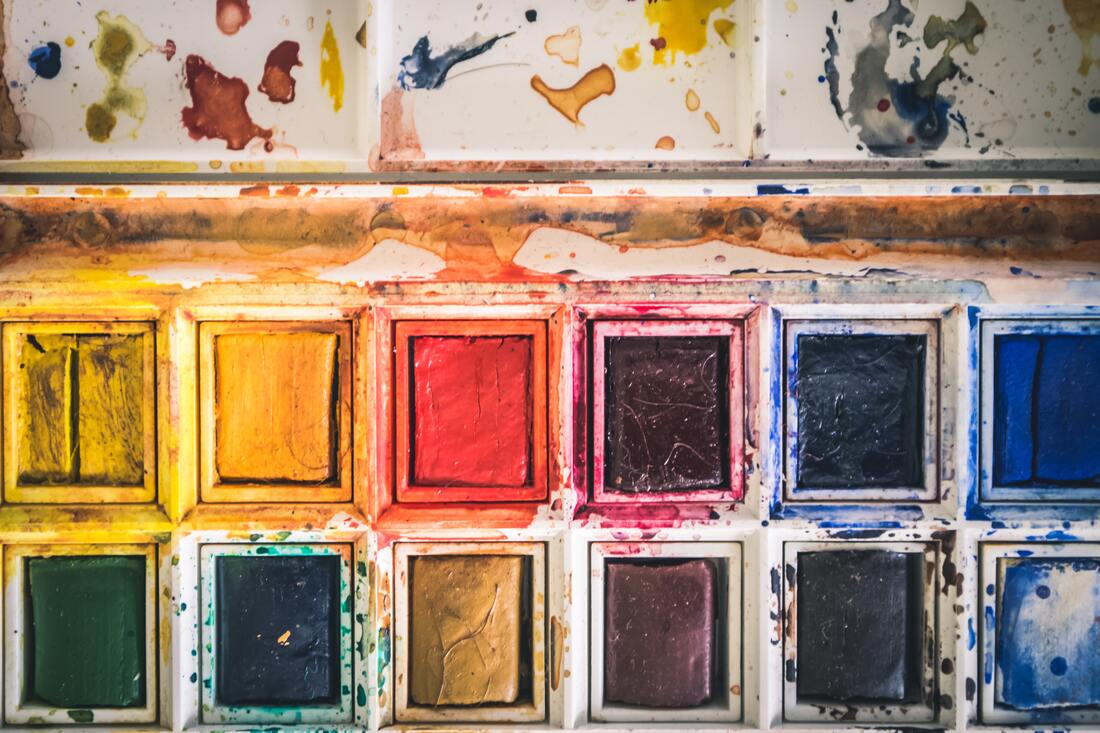
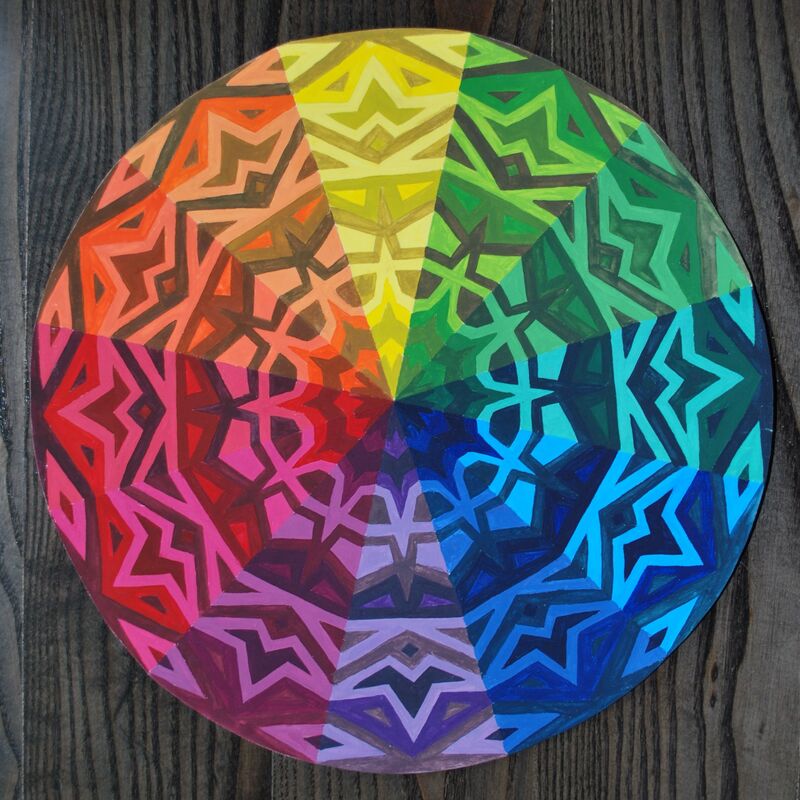
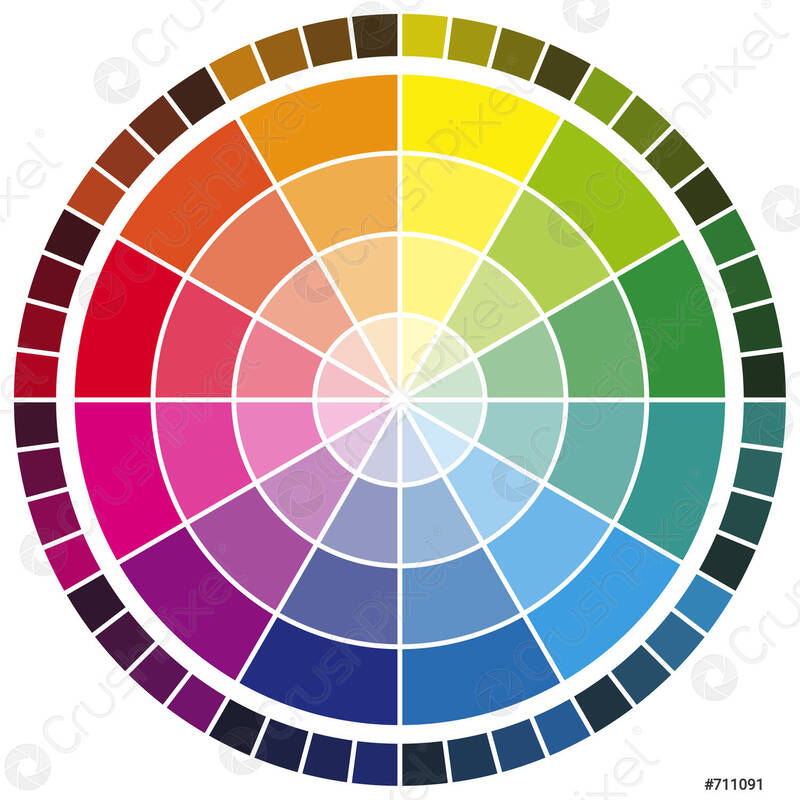
Color Theory Project ::
This project combines elements from ::
https://rachaellanghals.wordpress.com/2012/03/18/art-i-color-wheel-project/
glencairnmuseum.org/newsletter/2019/3/19/hex-signs-sacred-and-celestial-symbolism-in-pennsylvania-dutch-barn-stars

|
|
Procedures:
Part I
Part I
- Read article about Dutch Folk Art Barn Stars by clicking on link below...
glencairnmuseum.org/newsletter/2019/3/19/hex-signs-sacred-and-celestial-symbolism-in-pennsylvania-dutch-barn-stars - In your sketchbook, sketch some ideas for your own barn stars using a combination of floral and celestial patterns
- Create your circle for the painted project. Your circle radius must be at least 5 in.
- Divide your circle equally into 12 sections (think pie shaped or pizza shaped)
- Using what you have learned about Rhythm and Pattern, create a repeating design based on the images in the article for Dutch Folk Art Barn Stars (use pencil to sketch your design first)
- SMALL parts of your design can be blacked out (no more than one small section of each pie piece). Use a black sharpie to outline your design and fill in the small portions with black. [***the rest will be painted in Part II]
|
|
Part II
|
*** You will be graded on both your design of your Barn Star, your ability to create a repeating pattern, and your ability to mix colors correctly
